Monday 16 March 2015

SNowflakes Photo Border With Photoshop

SNowflakes Photo Border With Photoshop

Written by Steve Patterson. In this Photoshop tutorial, we’ll learn how to create a simple and fun snowflakes photo border, perfect as a finishing touch for photos of family and friends during the holidays or for any wintry scene. We'll start by creating our own custom snowflakes brush using one of Photoshop's built-in Custom Shapes and its powerful Brush options. Then, we'll create a selection for our border, turn the selection into a path, and have Photoshop paint along the path with our brush! As always, I cover every step along the way so anyone at any skill level can easily follow along.
I'll be using Photoshop CS6 here but this tutorial is also fully compatible with Photoshop CC (Creative Cloud). For CS5 and earlier, you'll want to check out our original Snowflakes Photo Border tutorial.
Download our tutorials as print-ready PDFs! Learning Photoshop has never been easier!
Here's the image I'll be working with (girl with golden retriever photo from Shutterstock):
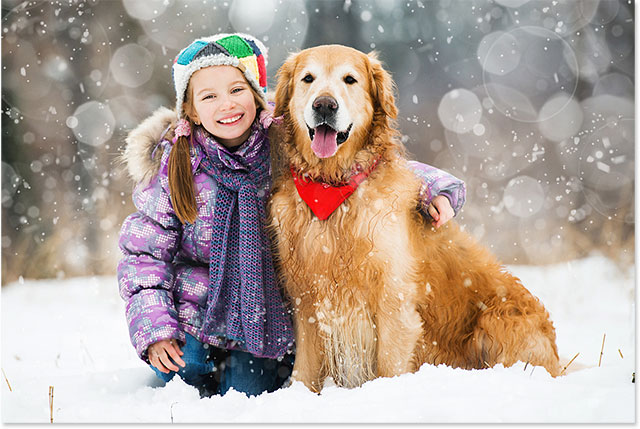
Image 200255651 licensed and used by permission from Shutterstock by Photoshop Essentials.com.
The original image.
And here's what it will look like after adding the snowflakes border:
A snowflakes photo border created with Photoshop. Image © 2014 Photoshop Essentials.com.
CR : http://www.photoshopessentials.com

0 comments:

Post a Comment